Posts filed under Tools

This Is How to Clean Hair Brushes the Right Way

Hair can grow as much as 1.7 centimeters per month, and with all that hair, it only makes sense that you have to manage it by brushing it. But at a certain point, your brush will collect not only loose hair but old hair gel, skin cells, and more. Once your brush gets dirty, you might wonder how to clean it. 

Fortunately, learning how to clean hair brushes isn't difficult, but there are certain things you need to be aware of if you want to keep your brush in good shape. Keep reading and learn more about how to keep your brushes clean and in great shape. 

What You Need to Know About Cleaning Your Brush

You might think that hairbrush cleaning is a relatively simple task. After all, all you have to do is pull off the excess hair from the brush and call it a day, right? Not necessarily.

If you only pull off the loose hair from the brush, you will find that all sorts of debris will still be left behind. Most of the debris is dandruff and whatever else might have been sitting on your hair. You might even find that some of the remaining substances on the brush are sticky. 

This is often the case if you tend to use hair gel or other hair products before brushing your hair. Over time, the hair products will get stuck in your brush, making it particularly hard to clean. Besides that, the hair products might become encrusted on your brush and leave little white flakes in your hair every time you try to brush it. 

This, of course, is not something you want to deal with when you're trying to style your hair. Unfortunately, most hair brushes will suffer from this problem sooner or later. Does this mean you'll have to throw out your brush once it gets too dirty? 

Not at all!

The Details

You can prevent your brush from getting too dirty as long as you clean it regularly. In particular, you should aim to clean hair brushes at least once a month. If you tend to shed a lot of hair or use many hair products, you might want to clean your brush once every two weeks.

As long as you do that, you will find that your brush will never become unmanageable or hopelessly dirty. Also, even if you don't want to give your brush a complete cleaning, you can remove any clumps of hair that might end up stuck to your brush. It might even be a good idea to have two brushes. 

That way, you can cycle between them so that one brush doesn't get especially dirty over a short period. But how should you go about cleaning your brush first, and what tools or supplies will you need? 

How to Clean Hair Brushes Like a Pro

Cleaning hair brushes doesn't have to be difficult, but it will be if you don't have the right tools. In particular, you will want a pintail comb on your side, an unused toothbrush, rubbing alcohol, baking soda, and a towel. You will also want to keep the type of hair brush you have in mind. 

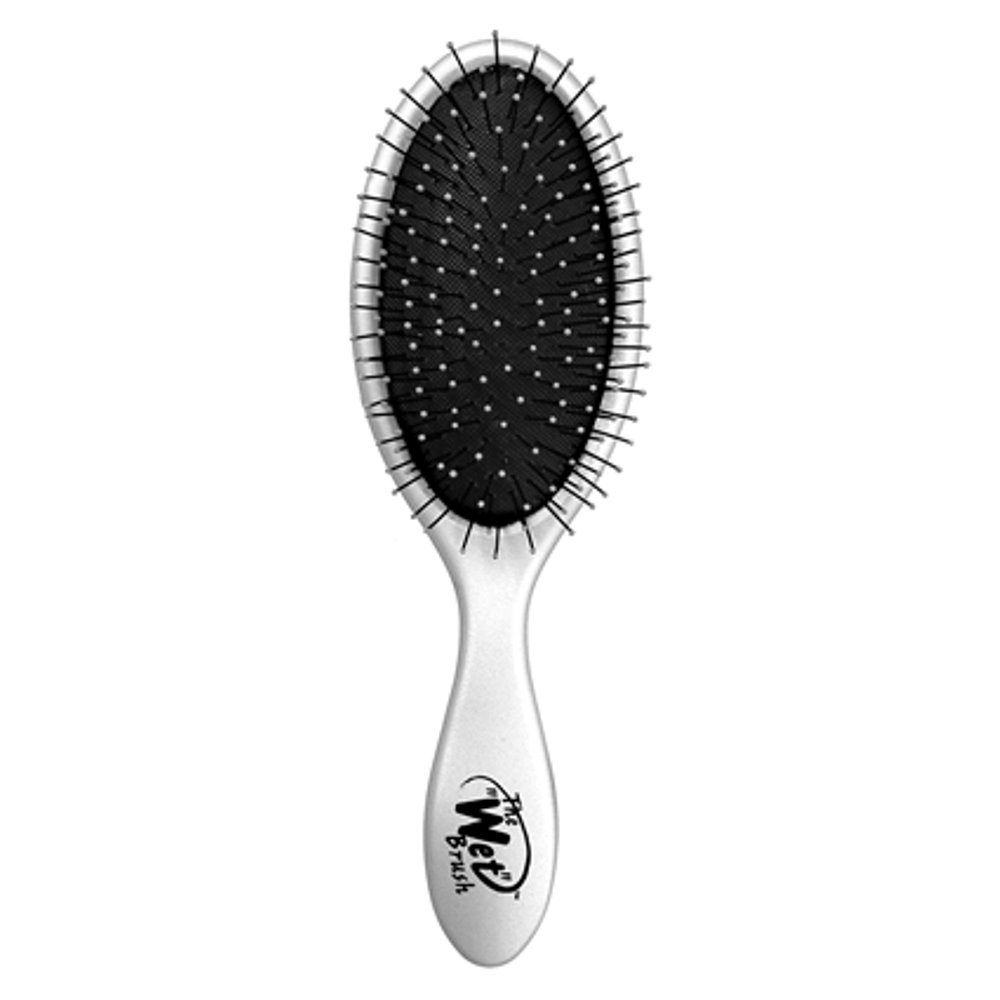
Some hair brushes, such as those with boar bristles, are more sensitive than synthetic bristles. Let's first explore how to clean brushes with synthetic bristles. First, you must remove whatever hair is stuck to the brush's bristles. 

For the best results, you should use the thin handle of a pintail comb. This will be much easier than removing the hair with your fingers. After that, you should immerse the brush in warm water.

You can do this in a bathtub or sink. Using warm water instead of cold water is essential as the warm water will help loosen any debris that might be stuck to the brush. For even better results, try adding a few drops of dish soap or shampoo to the water and wait for some bubbles to form. 

Once that's done, wait a few minutes for the warm water to affect the debris on the hairbrush. After about 10 minutes, any debris on the brush should become very soft. At that point, you can get a toothbrush and start scrubbing away at the brush. 

While you can use your fingers to try and clean between the bristles, this will not be nearly as effective as using a small toothbrush. Besides cleaning the bristles, don't forget to clean the exterior of the brush and handle.

What You Need to Know

Doing this should remove most debris, especially sticky remnants of hair gel or other hair products. 

If you find some debris won't go away, you must bring in the baking soda. Baking soda may seem like a soft white powder, but it has potent abrasive properties. If you pour some baking soda on your toothbrush and continue to scrub your hairbrush, the abrasive properties of the baking soda will remove whatever might be stuck to your brush. 

After that, rinse the brush in warm water, so any remaining debris is dislodged and removed. Before you dry off the brush, however, be sure to give it a quick soak in rubbing alcohol. This step is essential as it will remove any stubborn bacteria or other debris that might be stuck to your brush. 

In a way, it will make your brush quite sterile. You only need to give your brush a quick dip in the alcohol; you don't need to soak it. After that, wipe down the brush with a towel and then let it out to air dry. 

Once it's dry, you can continue using it, and you won't need to worry about any dirt or debris getting caught in your hair. But how should you go about cleaning a natural brush, you might ask?

How to Clean Natural Hair Brushes

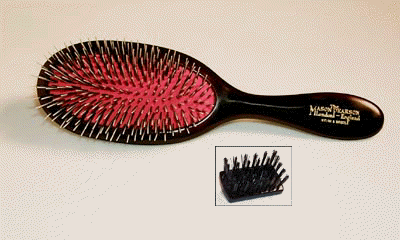
Cleaning natural-bristle brushes are not as complicated as cleaning synthetic ones, but you will need to be a bit more careful. This is because natural brushes are more sensitive to specific cleaning methods. If you're not careful, you could damage the bristles and the entire brush. 

To start, you will need to do more or less the same as a synthetic brush: remove the excess hair. Again, use a pintail comb for this if you can. Then, it will be time to soak the brush in warm water. 

However, if the brush handle is made of wood, you won't want to soak the whole brush. Doing this might damage the wood. Instead, soak only the natural bristles. 

Before you soak the brush, make sure you get the warm water a bit sudsy with some soap or shampoo, then place only the brush's bristle in the water. Once the brush is done soaking, you will not want to use a toothbrush or baking soda on it. The abrasive nature of these tools will only damage the natural bristles of the brush. 

The Technique 

Instead of using a toothbrush, use your fingers to clean between the natural bristles. Your fingers alone should be enough to remove most types of debris from your brush. Also, make sure that plenty of soap is involved in helping clear the debris. 

After that, rinse the brush under a steady flow of warm water. The force of the water should dislodge any other debris that might be stuck to the bristles. Again, try to keep the wooden handle of the brush from getting wet. 

After that, do not use rubbing alcohol on this brush as it will damage the bristles. All you need to do is let the brush air dry for a few hours or overnight, and then it will be as good as new and ready to use.

How to Keep Your Hair Brushes Clean 

Learning to clean hair brushes is not tricky, but you must remember a few things. You can be a bit harsher with synthetic brushes and use baking soda and rubbing alcohol on them to get them clean. You'll need to be a bit more careful with natural hair brushes.

To learn more, contact us here.

Posted on September 1, 2022 and filed under Tools.

’70s Hair Is Back—Here's How To Style Those Groovy Hairstyles

The ’70s was a prime time for fashion and beauty, specifically hair. As someone who has worked through the golden eras of hairstyles, I expected this renaissance. I welcome this trend with open arms because retro hairstyles are simply timeless. I don’t think much has changed from how people wore it then to how people are wearing it today. These styles could be worn the same way, from feathery chops to edgy mullets, and they’d still look just as fantastic.

If you find these styles a little much, you’ll be relieved to know that most are actually wearable, easy to style, and oh-so-chic! To prove my point, I’ve selected five hairstyles from the disco era that would look great on women of all ages.

The Hive Updo

Perhaps the most intimidating hairstyle on this list, beehives are easy to pull off if you have the right tools and styling products. It’s such an iconic hairstyle that even today, celebrities like Beyonce, Adele, and Jennifer Lopez sport this glamorous updo. Try it and you’ll find that it looks great no matter your age.

The key to getting this look on your own is by adding a texture spray, like Densite by L’Oreal Professionnel and blow-drying your hair for a couple more minutes on the top to create more volume. Tease the hair slightly, then smooth with a teasing comb and pin. Spray a little light-hold hairspray throughout.

Shop BioIonic hair dryers here.

Feathery and Free-Spirited

Three words: The Farrah Flip. The iconic Charlie’s Angel left a mark in the beauty world with her effortless and flowy feathered hair. This style bled into the ’80s and ’90s as well, proving its timeless appeal and wearability. Until today, the layered hairstyle is all the rage on TikTok and is loved by celebrities like Hailee Steinfeld and Lizzo.

With a few hair rollers, a good barrel brush, a blow dryer, or a curling iron, you can achieve this look. Seal it with hairspray, and you’re ready to strut. My favorite is the Infinium 3 by L'Oreal Professionnel, I keep a few cans on my shelf at the salon.

Shop ERGO styling tools here.

Fringe + Single-Length

The fringe is optional, but if you want that extra oomph to your look, go for it! Look to the likes of Cher, Kylie Kloss, and Alexa Chung for some inspiration. Today’s version has a more relaxed look, with longer bangs and light layers to add dimension depending on your face shape. It’s a low-maintenance hairstyle that you can wear on different occasions, from weddings to corporate events.

To style, all you need is a good smoothing cream or styling balm to keep your tresses looking sleek and fresh. I love Milk by Reverie for this purpose!

Modern Shag

Shaggy hair for women over 40? Absolutely! I love this hairstyle because besides it being versatile, it gives you a youthful glow that looks natural and beautiful. If you’re thinking of switching up your look, I encourage you to step out of your comfort zone and try this look. This haircut will look amazing, whether you have curly hair or straight hair. Just look at Taylor Swift, Billie Eilish and Miley Cyrus for inspiration.

Spray Mare Mediterranean Sea Mist for this look on wet hair and blow-dry with a flat brush, then add Rake Styling Balm on dry hair for texture. Both are available at my studio.

Long and Wavy

The ’70s was a time for free-flowing locks that swayed with the wind. Today, this hairstyle remains a go-to for many women because it’s effortless, low-maintenance, and flattering.

Give it a retro spin with a middle part or move it all the way to the side for a more dramatic look. Whether you wear it wavy or curly, this hairstyle is a sure showstopper. The Mediterranean Sea Mist is a good call here again. Use a big round brush to create waves.

Shop Ibiza hair brushes.

Disclosure: Some of the links on this post contain affiliate links and if you go through them to make a purchase, I will earn a commission. Please keep in mind that I included these companies and their products because of their quality first and foremost. The buying decision is always yours.


Main photo by cottonbro.

Posted on June 9, 2022 and filed under Beauty, Favorite hair products, hair, hairstyles, Techniques, Tools.

My Favorite Hair-Dryers for the Best Blowout Ever: 2022 Edition

Thanks to the latest technology, achieving salon-style hair has never been easier. For instance, hair tools such as dryers have come a long way when it comes to quality. In addition to giving you a gorgeous blowout, some of the best hair-dryers we have today contribute to hair health. 

There's a pervading belief that blow-drying the hair is damaging. Tim Moore, PhD in Microelectronics from Cambridge University and Chief Technology Officer at Good Hair Day, explains, “Hair can absorb up to 30 per cent of its own weight in water. The longer it stays wet, the worse things get, as it continues to swell.” All that water affects the molecular structure of your hair, weakening it. It’s healthier for the hair to be quickly and properly dried rather than prolonging its wet and weakened state. This means having the right blow-dryer can make a huge difference and is more crucial than ever.

Generally, there are five things that I look for in a dryer: weight, length, multiple heat options, a cold shot button, and design (who doesn’t want a stylish hair-dryer?!). I took the liberty to give you a roundup of my favorite blow-dryers so that you have an idea where to start. Check them out below.

What Makes a Great Hair-Dryer?

The first two factors—weight and length—are important if you travel frequently or use a blow-dryer regularly. You want something weighty enough to know it’s good quality but light enough for you to use comfortably. I like using the nozzle that usually comes with a dryer. It directs the airflow exactly where you point it and dries the hair quickly. Length, on the other hand, is crucial as well because when you’re drying your hair, it can be more challenging or even uncomfortable if the barrel is too long.

When it comes to heating options, simple is best. You only need three settings: hot, medium, and a cool shot button to set your style. You can spend $99 on a dryer or splurge on fancier ones that cost $400 and up. At the end of the day, it’s about finding a blow-dryer that works for you.

Here are my recommendations:

1. Bio Ionic GoldPro Travel Dryer

For professional-quality results that last, check out the Bio Ionic GoldPro Travel Dryer. You can't beat the price point on this one. It's stylish and has the Bio Ionic Moisturizing Heat™ Technology that keeps your hair soft and healthy. This dryer also folds up, making it easy to pack for a quick weekend getaway (are we doing that yet?).

Shop Bio Ionic dryers.

2. Ergo TT2000 Blow Dryer

The Ergo TT2000 Blow Dryer is a godsend for those who want an ergonomic design that delivers. I haven't tried it personally, but I know many stylists who have this as their holy grail hair tool. It has a small body, so it’s easy to hold and is portable, plus the 10-foot cord allows you to move around and style with ease. It’s definitely a must-buy if you want an everyday dryer that gets the job done in a jiff.

Shop Ergo dryers. Use the code ERGOLOVE10 to get 10% off your first order!

3. IQ Perfetto Hair Dryer by Gama Professional

The IQ Perfetto Hair Dryer is what I use in the salon every day. Its sleek and ergonomic design is comparable to popular dryers available today. This dryer delivers incredible power with a 110,000 RPM motor, giving maximum results with little effort. It’s also light enough for me to use all day long without any discomfort on my wrist. If you’re willing to pay more for an everyday tool that can stand daily usage, this will be perfectly sufficient for you, along with the Ergo and Bio Ionic dryer.

Shop Gama Professional dryers.

Disclosure: Some of the links on this post contain affiliate links and if you go through them to make a purchase, I will earn a commission. Please keep in mind that I included these companies and their products because of their quality first and foremost. The buying decision is always yours.

Posted on February 11, 2022 and filed under Beauty, Blow Drying, Favorite hair products, hair, Tools.

Hair Drying Tips

Have your ever wondered why your hair never looks like when you left the hairdressers?  Most clients haven't been taught proper hair drying tips!  Here are a few.

Think of hair as fabric.  What is the texture of hair you are starting with, and what is the "finish" you are trying to achieve?  The answer to these two questions will help decide what finishing product to use on the hair.  For most textures of hair, I would start off with a primer like Mythic Reinforcing Milk or Volumetry Spray by L'Oreal Professionnel, Prep Spray by Bumble and Bumble, or Shu Uemera Depsea Water, throughout the hair, and brush gently with the Wet Brush.

Then apply your styling product.  Some of my favorites are Liquid Fabric for texture to fine hair, Satin Design for soothing the cuticle by Shu Uemura, or any of the Thermiques by Kerastase for a conditioning, softer finish on the hair, or Texture Spray for hold and substance, or Curl Satin Mousse for shine, condition and volume without frizz, by L'Oreal Professionnel.  Apply throughout and distribute through the hair with a comb or soft cushion brush.

Now, for the pre-dry!  It may sound like we are adding an extra step, but truly, this will make your life easier.  Using your hand, and blow dryer, think about drying the scalp versus the ends of your hair to dry the hair in the cuticle direction to create smooth hair or against the cuticle of the hair if you desire volume.  Dry all your hair 80-90% with a medium to hot dryer.  Then, brush your hair using a soft cushion brush like the Mason Pearson.

Mason Pearson Popular Mixture

Mason Pearson Popular Mixture Bristle/Nylon Mix Hair Brush

Then dry the hair, continuing with Mason Pearson, or round brush for volume, using concentrator nozzle a blowout, using high heat and moving in an arc movement, heat moving over the strand of hair, and cool before releasing.  Section your hair, separating the front from the back, securing with clips, the hair in front of the hair towards your face.  Then section out a 2-inch section at the nape, and clip the rest either to the sides for smooth style or up for more volume.  Continue this parting and clipping away hair until you have no hair left to section off.

Use Infinium #3 hair spray by L'Oreal Professionnel to ends, or smoke a Dry Shampoo into the hair, like True Grip by L'Oreal Professionnel or Pret a Powder by Bumble and Bumble.

Happy Drying!

Posted on May 27, 2014 and filed under Blow Drying, hair, hairstyles, Techniques, Tools.

Tuesday Tips

Today we are going to talk about the Blow-dry!  You're only as good as your tools.  Chi Pro-dryer GF-1505 - $154 CHI Pro Low EMF Professional Hair Dryer with Diffuser (GF1505). The price point is average.  Panelists love this dryer because it is quiet, lightweight, and dries the hair quickly. 

You can spend $20. for the Revlon Ionic Ceramic Pro Stylist RV484, as it has a feature that the higher-cost brands didn't have, separate heat and airflow settings, which I like.

Posted on January 3, 2013 and filed under hairstyles, Tools.